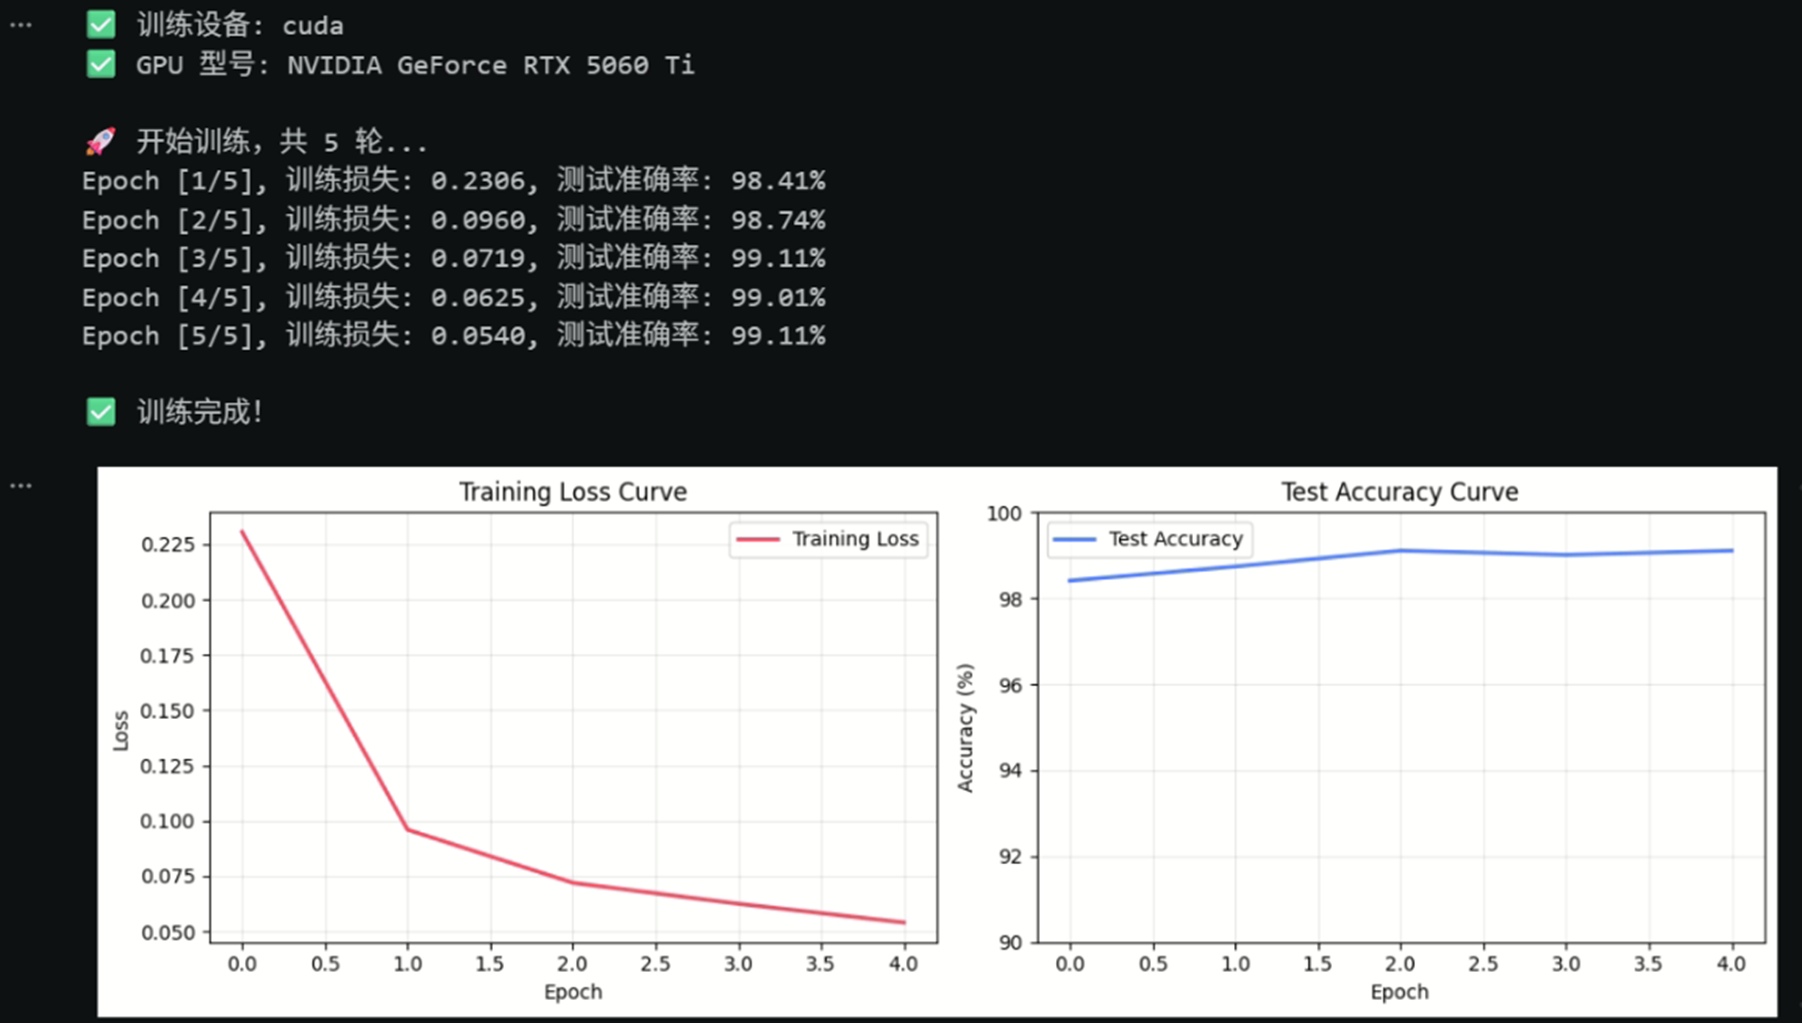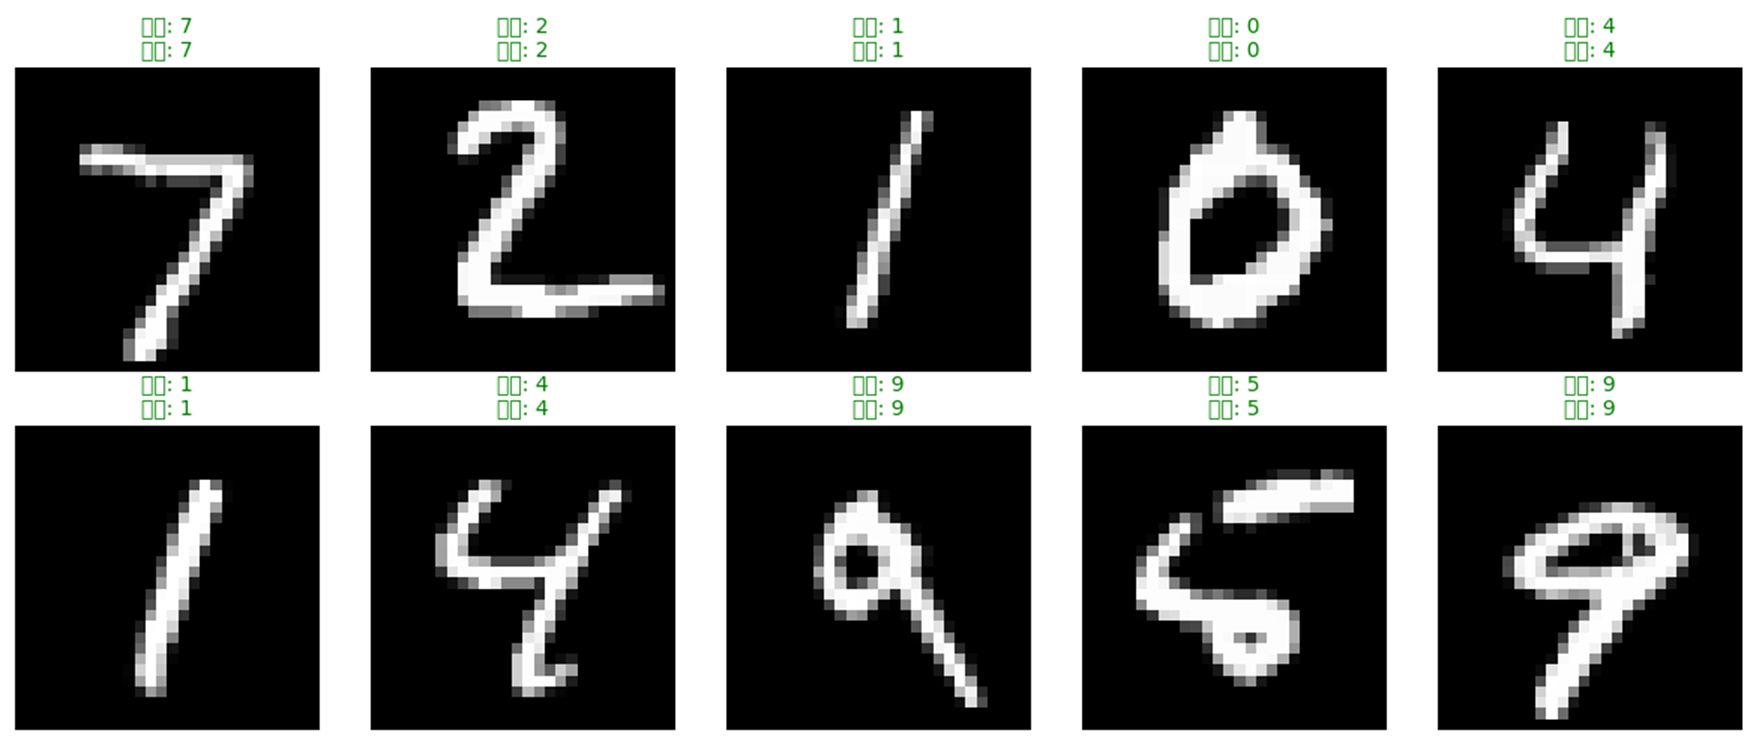
前置准备:
安装Aanconda:https://www.anaconda.com/download
安装VS Code:https://code.visualstudio.com/
查询Cuda版本:Nvidia-smi→13.0
下载对应的Cudnn:https://developer.nvidia.com/rdp/cudnn-archive
开始用Anaconda搭建虚拟环境:conda create -n pytorch-cu13 python=3.10 -y
(环境名称pytorch-cu13,python版本使用:python=3.10)
完成后进入虚拟环境:
conda activate pytorch-cu13
开始安装Pytorch深度学习环境相关的依赖:
pip3 install torch torchvision torchaudio --index-url https://download.pytorch.org/whl/cu130
pip install numpy pandas matplotlib scikit-learn opencv-python tqdm tensorboard ipykernel
安装完成后测试环境:
import torch
import sys
print("GPU 数量:", torch.cuda.device_count())
# 1. 验证 Python 版本(确认是 3.10)
print(f"Python 版本: {sys.version}")
# 2. 验证 PyTorch 版本
print(f"PyTorch 版本: {torch.__version__}")
# 3. 验证 CUDA 版本(必须 13.x)
print(f"绑定 CUDA 版本: {torch.version.cuda}")
# 4. 核心:验证 CUDA 是否可用(必须 True)
print(f"CUDA 是否可用: {torch.cuda.is_available()}")
# 5. 验证 cuDNN 版本
print(f"cuDNN 版本: {torch.backends.cudnn.version()}")
# 6. 验证 GPU 信息
if torch.cuda.is_available():
print(f"GPU 型号: {torch.cuda.get_device_name(0)}")

以MNIST手写数字识别数据集训练测试: