import torch
import torch.nn as nn
import torch.optim as optim
from torchvision import datasets, transforms
from torch.utils.data import DataLoader
import os
import zipfile
import shutil
from PIL import Image

# ==========================================
# 0. 直接解压本地压缩包并整理数据集
# ==========================================
zip_path = "kagglecatsanddogs_5340.zip"  # 你的本地压缩包名称
base_dir = "cats_dogs_dataset"

if not os.path.exists(base_dir):
    print(f"检测到压缩包 {zip_path},开始解压并整理数据集...")
    extract_dir = "temp_extracted"
    os.makedirs(extract_dir, exist_ok=True)

    # 解压文件
    with zipfile.ZipFile(zip_path, 'r') as zip_ref:
        zip_ref.extractall(extract_dir)

    # 创建 PyTorch ImageFolder 需要的目录结构
    train_cats_dir = os.path.join(base_dir, 'train', 'cats')
    train_dogs_dir = os.path.join(base_dir, 'train', 'dogs')
    val_cats_dir = os.path.join(base_dir, 'val', 'cats')
    val_dogs_dir = os.path.join(base_dir, 'val', 'dogs')

    for d in [train_cats_dir, train_dogs_dir, val_cats_dir, val_dogs_dir]:
        os.makedirs(d, exist_ok=True)

    # 原始数据在 PetImages 文件夹下
    original_cat_dir = os.path.join(extract_dir, 'PetImages', 'Cat')
    original_dog_dir = os.path.join(extract_dir, 'PetImages', 'Dog')

    # 🔥 核心修改:增加样本数量
    # 训练集:猫狗各 10000 张;验证集:猫狗各 2500 张
    def move_files(src_dir, train_dst, val_dst, train_count=10000, val_count=2500):
        moved = 0
        val_moved = 0
        for fname in os.listdir(src_dir):
            if fname.lower().endswith(('.jpg', '.png', '.jpeg')):
                src_path = os.path.join(src_dir, fname)
                try:
                    # 增强清洗:verify + load 双重验证,彻底剔除损坏图片
                    with Image.open(src_path) as img:
                        img.verify()
                    with Image.open(src_path) as img:
                        img.load()

                    if moved < train_count:
                        shutil.copy(src_path, train_dst)
                        moved += 1
                    elif val_moved < val_count:
                        shutil.copy(src_path, val_dst)
                        val_moved += 1

                    if moved >= train_count and val_moved >= val_count:
                        break
                except Exception:
                    pass # 跳过损坏的图片

    print("整理猫咪图片 (这可能需要几分钟)...")
    move_files(original_cat_dir, train_cats_dir, val_cats_dir)
    print("整理狗狗图片 (这可能需要几分钟)...")
    move_files(original_dog_dir, train_dogs_dir, val_dogs_dir)

    # 清理临时解压目录
    shutil.rmtree(extract_dir)
    print("✅ 数据集整理完成!")
else:
    print("检测到已整理的数据集,跳过解压步骤。")


# ==========================================
# 1. 定义 CNN 模型
# ==========================================
class CatsDogsCNN(nn.Module):
    def __init__(self):
        super(CatsDogsCNN, self).__init__()
        self.conv1 = nn.Conv2d(3, 16, 3, padding=1)
        self.conv2 = nn.Conv2d(16, 32, 3, padding=1)
        self.conv3 = nn.Conv2d(32, 64, 3, padding=1)
        self.pool = nn.MaxPool2d(2, 2)
        self.fc1 = nn.Linear(64 * 18 * 18, 512)
        self.fc2 = nn.Linear(512, 1)  # 二分类输出1个节点
        self.dropout = nn.Dropout(0.5)

    def forward(self, x):
        x = self.pool(torch.relu(self.conv1(x)))
        x = self.pool(torch.relu(self.conv2(x)))
        x = self.pool(torch.relu(self.conv3(x)))
        x = x.view(x.size(0), -1)
        x = self.dropout(torch.relu(self.fc1(x)))
        x = self.fc2(x)
        return x

# ==========================================
# 2. 数据加载与预处理
# ==========================================
transform = transforms.Compose([
    transforms.Resize((150, 150)),
    transforms.ToTensor(),
    transforms.Normalize(mean=[0.5, 0.5, 0.5], std=[0.5, 0.5, 0.5])
])

train_dataset = datasets.ImageFolder(root=os.path.join(base_dir, 'train'), transform=transform)
val_dataset = datasets.ImageFolder(root=os.path.join(base_dir, 'val'), transform=transform)

# 数据量变大后,可以适当增加 batch_size 加快训练速度(如果内存允许)
train_loader = DataLoader(train_dataset, batch_size=64, shuffle=True)
val_loader = DataLoader(val_dataset, batch_size=64, shuffle=False)

# ==========================================
# 3. 训练与评估逻辑
# ==========================================
device = torch.device("cuda" if torch.cuda.is_available() else "cpu")
model = CatsDogsCNN().to(device)

criterion = nn.BCEWithLogitsLoss()
optimizer = optim.Adam(model.parameters(), lr=0.001)

def evaluate(model, data_loader, device):
    model.eval()
    correct = 0
    total = 0
    with torch.no_grad():
        for images, labels in data_loader:
            images, labels = images.to(device), labels.to(device).float()
            outputs = model(images).view(-1)
            predicted = outputs > 0.0
            total += labels.size(0)
            correct += (predicted == labels).sum().item()
    return 100 * correct / total

def train_model(max_epochs, target_accuracy):
    for epoch in range(max_epochs):
        model.train()
        running_loss = 0.0

        for images, labels in train_loader:
            images, labels = images.to(device), labels.to(device).float()

            optimizer.zero_grad()
            outputs = model(images).view(-1)
            loss = criterion(outputs, labels)
            loss.backward()
            optimizer.step()

            running_loss += loss.item()

        avg_loss = running_loss / len(train_loader)
        val_accuracy = evaluate(model, val_loader, device)

        print(f'Epoch {epoch + 1}/{max_epochs}, Loss: {avg_loss:.4f}, Validation Accuracy: {val_accuracy:.2f}%')

        current_epoch = epoch + 1
        if val_accuracy >= target_accuracy:
            print(f'\n🎉 验证准确率 {val_accuracy:.2f}% 已达到目标 {target_accuracy}%,停止训练!')
            torch.save(model.state_dict(), 'cats_dogs_best_model.pth')
            print('模型权重已保存至 cats_dogs_best_model.pth')
            break

        if current_epoch > 15:
            print(f'\n⏹️ 训练次数已达 {current_epoch} 次,停止训练!')
            torch.save(model.state_dict(), 'cats_dogs_last_model.pth')
            print('模型权重已保存至 cats_dogs_last_model.pth')
            break

# 开始训练
train_model(max_epochs=20, target_accuracy=83.0)

# ==========================================
# 4. 预测本地图片
# ==========================================

def predict(image_path, model, device, transform):
    model.eval()
    try:
        image = Image.open(image_path).convert('RGB')
        image = transform(image).unsqueeze(0).to(device)

        with torch.no_grad():
            output = model(image)
            prediction = output > 0.0
            # ImageFolder 按字母顺序:cats=0, dogs=1
            class_name = "狗" if prediction.item() else "猫"

            print(f"图片: {image_path} -> 预测结果: 这是一只【{class_name}】")
            print(f"模型原始输出值: {output.item():.4f}\n")
    except Exception as e:
        print(f"预测失败: {e}")

# 取消注释以测试预测
predict("test_cat1.jpg", model, device, transform)
predict("test_dog1.jpg", model, device, transform)
这段代码实现了一个完整的**猫狗图像二分类**的深度学习项目,涵盖了从本地压缩包解压数据、数据清洗与重组、构建卷积神经网络(CNN)、模型训练与评估,到最终对新图片进行预测的全过程。
下面我将为你详细解析这段代码的实现原理、用途和注意事项:
---
### 一、 代码用途
本代码的核心目标是:读取本地的 Kaggle 猫狗数据集压缩包,训练一个能够识别图像中是“猫”还是“狗”的深度学习模型,并在验证集准确率达到设定目标(83%)或训练轮次达到上限(15轮)时停止训练,保存模型权重,最后提供单张图片的预测接口。
---
### 二、 实现原理与流程解析
#### 1. 数据准备与清洗 (Section 0)
* 解压与重组:代码首先检测是否存在处理好的数据集目录。如果没有,则解压本地 zip 文件到临时目录,并按照 PyTorch ImageFolder 要求的 /train/cats/, /train/dogs/, /val/cats/, /val/dogs/ 结构复制文件。
* 数据划分:设定训练集猫狗各 10000 张,验证集各 2500 张。
* 数据清洗(关键):Kaggle 猫狗数据集中包含大量损坏的图片。代码使用了 PIL 的 img.verify() 和 img.load() 双重验证机制,跳过无法读取或损坏的图片,防止训练时抛出异常导致程序崩溃。
#### 2. 模型构建 (Section 1)
* 网络结构:自定义了一个包含 3 个卷积层和 2 个全连接层的简单 CNN。
* Conv2d:提取图像特征(边缘、纹理等)。
* MaxPool2d:下采样,降低特征图尺寸,减少计算量并增加平移不变性。
* Linear:将三维特征图展平x.view)后,映射到分类空间。
* 输出设计:最终全连接层 fc2 输出维度为 1。这是因为采用了**二分类**逻辑,模型输出一个标量,配合 BCEWithLogitsLoss 使用。
* Dropout:在全连接层之间加入 Dropout(0.5),随机丢弃 50% 的神经元,以缓解过拟合。
#### 3. 数据加载与预处理 (Section 2)
* 预处理 Pipeline:
* Resize((150, 150)):将大小不一的图片统一缩放到 150x150。
* ToTensor():将像素值从 [0, 255] 归一化到 [0.0, 1.0]。
* Normalize(mean=[0.5...], std=[0.5...]):将数据进一步缩放到 [-1.0, 1.0] 区间,加速模型收敛。
* 数据加载:使用 DataLoader 批量加载数据shuffle=True 保证训练集每个 Epoch 的样本顺序不同,增强模型泛化能力。
#### 4. 训练与评估逻辑 (Section 3)
* 损失函数BCEWithLogitsLoss(二元交叉熵损失带 Logits)。它内部集成了 Sigmoid 操作,直接接收模型未经激活函数处理的原始输出,数值稳定性更好。
* 优化器Adam,自适应学习率优化器,收敛速度快。
* 评估逻辑outputs > 0.0 是因为 Sigmoid(0) = 0.5,所以 Logits 大于 0 等价于预测为正类(即标签为 1 的类别,dogs)。
* 早停机制:
* 达到目标准确率(83%),保存最佳模型并停止。
* 超过最大轮次(15轮),保存最后一轮模型并停止。
#### 5. 预测逻辑 (Section 4)
* 将图片转为 RGB 格式,应用相同的 transform,并使用 unsqueeze(0) 增加批次维度(因为模型默认输入是 Batch 形式)。
* 根据输出值是否大于 0 判定类别。由于 ImageFolder 按字母顺序排序目录cats 对应标签 0dogs 对应标签 1,因此 >0.0 为狗,否则为猫。
---
### 三、 注意事项与改进建议
1. 数据清洗的效率问题:
* 现状:代码每次解压后都会重新遍历所有图片,并用 PIL 打开两次verify 和 load),这在处理几万张图片时非常耗时。
* 建议:如果磁盘空间允许,建议只执行一次清洗并保存到纯净目录,后续训练直接跳过 Section 0。或者使用 Image.open 的懒加载特性结合 try-except 简化清洗逻辑。
2. 模型容量与输入尺寸:
* 现状:输入图片被 Resize 到 150x150,3次 MaxPool 后特征图大小为 18x18 150 / 2^3 = 18.75,PyTorch 默认向下取整为 18)。全连接层输入维度为 64 18 18 = 20736。
* 建议:这是一个相对较浅的 CNN。如果想提高准确率(超越 83%),可以考虑引入 BatchNorm 层(加速收敛并正则化),或者使用迁移学习(如 ResNet、VGG 预训练模型),准确率可以轻松达到 95% 以上。
3. 验证集评估指标:
* 现状:仅使用了准确率作为评估指标。
* 建议:在数据极度不平衡的情况下,准确率具有欺骗性。虽然本数据集猫狗1:1,但最好也计算一下精确率、召回率和 F1-Score,以便更全面地了解模型表现。
4. 训练轮次限制的硬编码:
* 现状:代码中 if current_epoch > 15: 强制限制了最大训练轮次,但外部函数参数 max_epochs=20,这会导致永远无法训练到 20 轮。
* 建议:统一逻辑,如果是为了防止过拟合,建议使用正规的 Early Stopping 机制(例如连续 3-5 轮验证集准确率不上升则停止),而不是硬编码一个绝对上限。
5. 预测时的类别映射:
* 现状:硬编码了 class_name = "狗" if prediction.item() else "猫"。
* 建议:更优雅的做法是从 train_dataset.class_to_idx 获取字典映射(如 {'cats': 0, 'dogs': 1}),然后反转字典动态查找,这样即使文件夹顺序变了,代码依然能正确预测。
6. 设备兼容性:
* 代码很好地使用了 device = torch.device("cuda" if torch.cuda.is_available() else "cpu"),但在 evaluate 和 train 中labels 被强制转为 .float(),这是因为 BCEWithLogitsLoss 要求标签与 Logits 同类型,这是正确的处理。
总的来说,这是一份结构清晰、逻辑完整、适合入门的深度学习图像分类实战代码,只需注意上述细节优化即可用于实际项目开发。
### 一、 关于速度:10分钟跑15轮,GPU速度如何?
结论:这个速度非常正常,表现良好。
我们可以算一笔账:
* 你的训练集有 20000 张图片(猫狗各10000)batch_size=64。
* 这意味着每个 Epoch 需要迭代 $20000 \div 64 \approx 312$ 个批次。
* 15个 Epoch 总共迭代了约 $15 \times 312 = 4680$ 次前向+反向传播。
10分钟(600秒)完成 4680 次迭代,*平均每次迭代约 0.12 秒**。
对于你目前这个**从零开始搭建的3层CNN模型**,配合 150x150 的输入尺寸,这个速度在主流消费级显卡(如 RTX 3060/4060 等)上是非常典型的。
💡 为什么没有更快?
因为你的模型是自定义的轻量级小模型,计算量本身不大。此时,**数据加载速度**成为了瓶颈。GPU在等 CPU 读完图片、做好预处理后,才能开始计算。如果你在 DataLoader 中加入了 num_workers=4(利用多进程读取数据),速度可能还会进一步提升。
---
### 二、 关于准确率:83%算是很好的模型吗?
结论:对于“从零开始训练的自定义小CNN”来说,83%是一个非常优秀的及格分数;但在工业界,这还不算“好模型”。
我们可以从以下三个维度来客观评价:
#### 1. 从模型本身潜力看:已经接近天花板
仔细观察你的训练日志:
* Epoch 1:验证准确率就达到了 76%(说明模型学到了基础特征)。
* Epoch 6~15:验证准确率在 82% ~ 84% 之间来回震荡,停滞不前。
* 但是,训练损失 从 0.19 一路狂跌到 0.02。
诊断:模型在训练集上已经“死记硬背”到了极低的误差,但在验证集上无法继续提升。这叫典型的**过拟合**。3层简单的 CNN 提取特征的能力有限,它已经达到了它的“智力天花板”,83%左右就是这个架构的极限。
#### 2. 从数据集难度看:猫狗分类并不简单
猫和狗在形态上有很大的相似性(都有毛、耳朵、四条腿),特别是某些小型犬和猫幼崽,连人有时都会认错。在没有使用数据增强的情况下,纯靠原始像素让小模型达到 83%,已经很棒了。
#### 3. 从工业界标准看:差距还很大
在 Kaggle 的猫狗分类比赛中,顶尖选手的准确率通常在 97% ~ 99% 之间。他们是如何做到的?这就引出了深度学习的杀手锏——**迁移学习**。
---
### 🚀 如何把 83% 提升到 95% 以上?
如果你想突破现在的瓶颈,不需要增加训练时间,只需要改变策略:
#### 方法1:加入数据增强—— 零成本提升
目前你的模型只见过正正方方的猫狗。稍微旋转、翻转一下,它可能就不认识了。修改你的 transform:
```python
transform = transforms.Compose([
transforms.Resize((150, 150)),
transforms.RandomHorizontalFlip(), # 随机水平翻转
transforms.RandomRotation(15), # 随机旋转 +/- 15度
transforms.ToTensor(),
transforms.Normalize(mean=[0.5, 0.5, 0.5], std=[0.5, 0.5, 0.5])
])
```
这相当于给模型看了更多样化的图片,能有效缓解过拟合,通常能提升 2~3% 的准确率。
#### 方法2:使用预训练模型(迁移学习)—— 降维打击
你自己写的 CNN 是个“白纸”婴儿,而 PyTorch 提供的预训练模型(如 ResNet18)是在 ImageNet(百万级图片,1000类)上训练过的“大学生”。它已经知道如何识别边缘、纹理、动物轮廓。
你只需要把它的“头”换掉,用猫狗数据微调即可:
```python
import torchvision.models as models
# 加载预训练的 ResNet18
model = models.resnet18(pretrained=True)
# 冻结前面的特征提取层,不参与训练(节省时间,防止破坏预训练特征)
for param in model.parameters():
param.requires_grad = False
# 替换最后一层,适应我们的二分类任务
num_ftrs = model.fc.in_features
model.fc = nn.Linear(num_ftrs, 1)
model = model.to(device)
```
使用这段代码替换你原来的 CatsDogsCNN,同样的 10 分钟训练时间,你的准确率大概率会直接飙升到 95% 以上!
总结:83% 证明了你的代码逻辑、数据流、训练循环完全正确。现在你拥有了坚实的基础,是时候尝试更强大的工具了!
城市干扰:
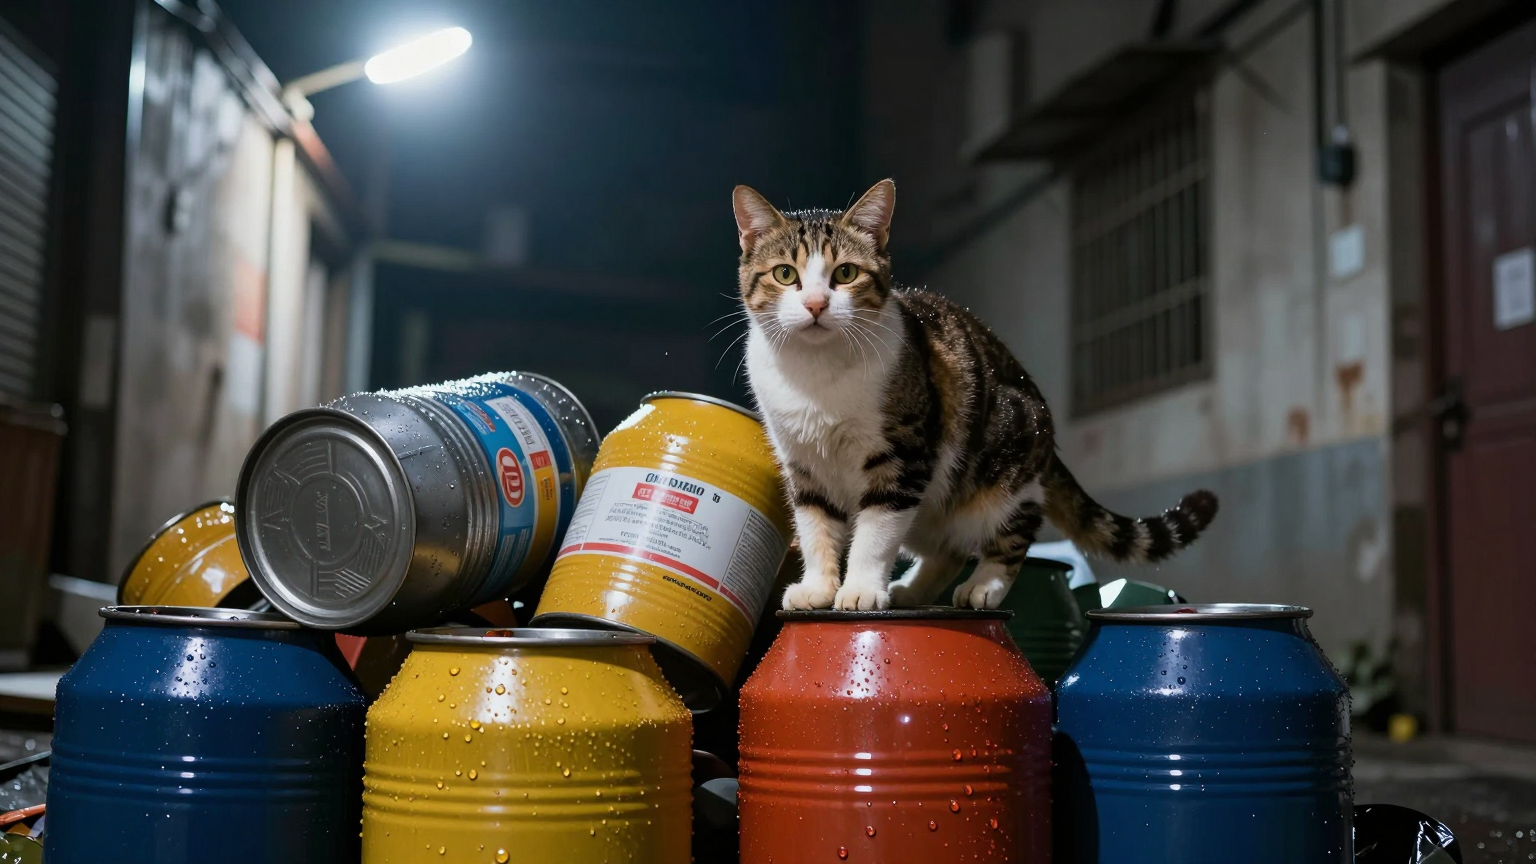
A cat perched precariously on a pile of wet, brightly colored garbage cans in an urban alleyway. Dramatic overhead lighting.(用于测试:模型是否能将“城市废弃物”的背景与“生物”主体完美分离。)
极端天气:
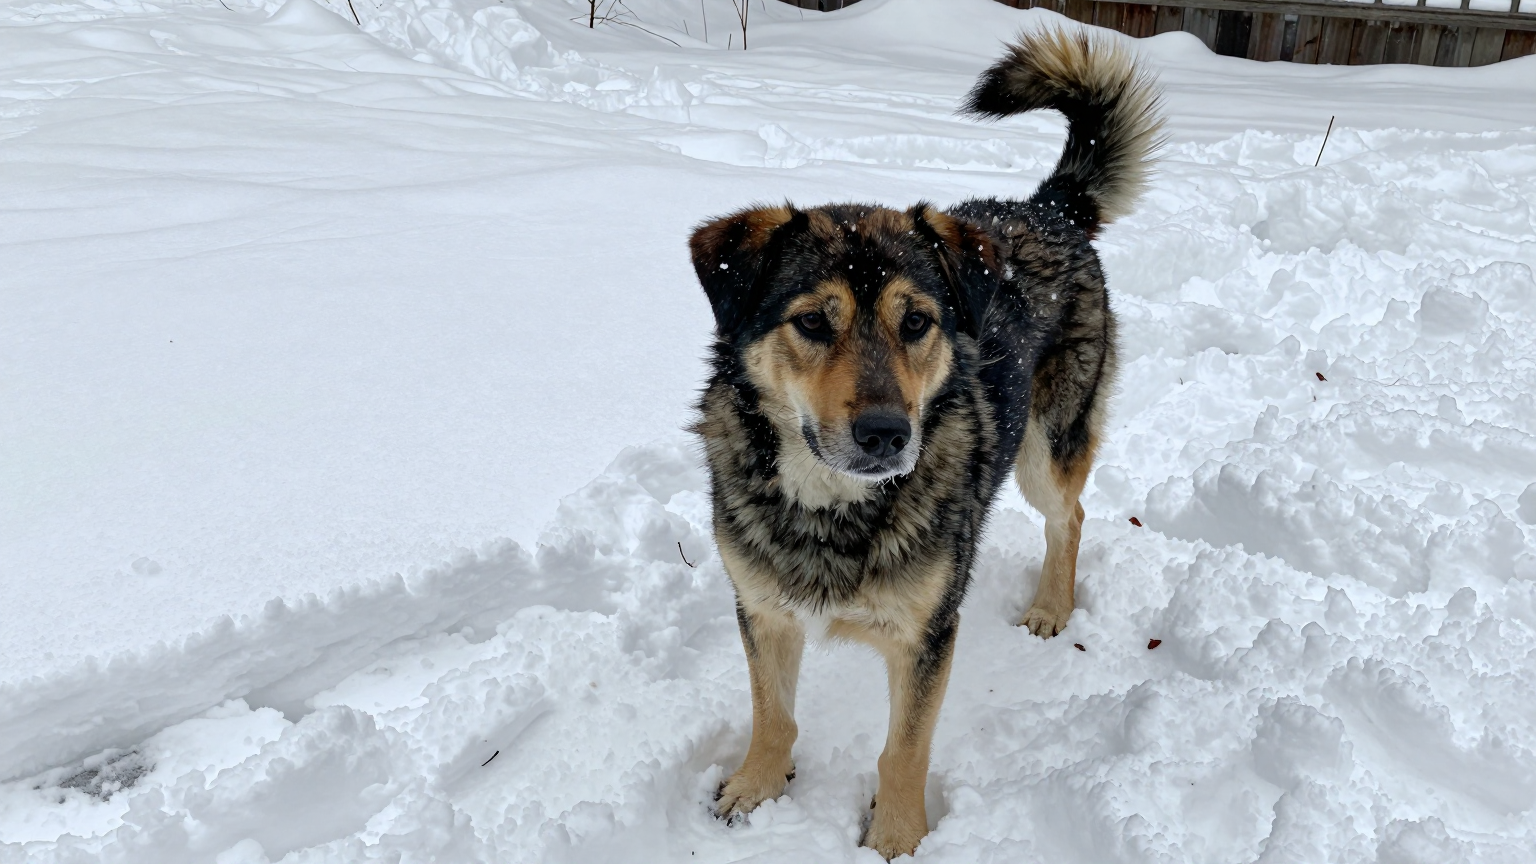
A dog standing in deep, fresh, deep snow, covered slightly with snowflakes, wet nose evident.(NG)(用于测试:模型是否能处理季节性的环境元素,以及物体沾染的湿气和雪。)
捕猎瞬间:
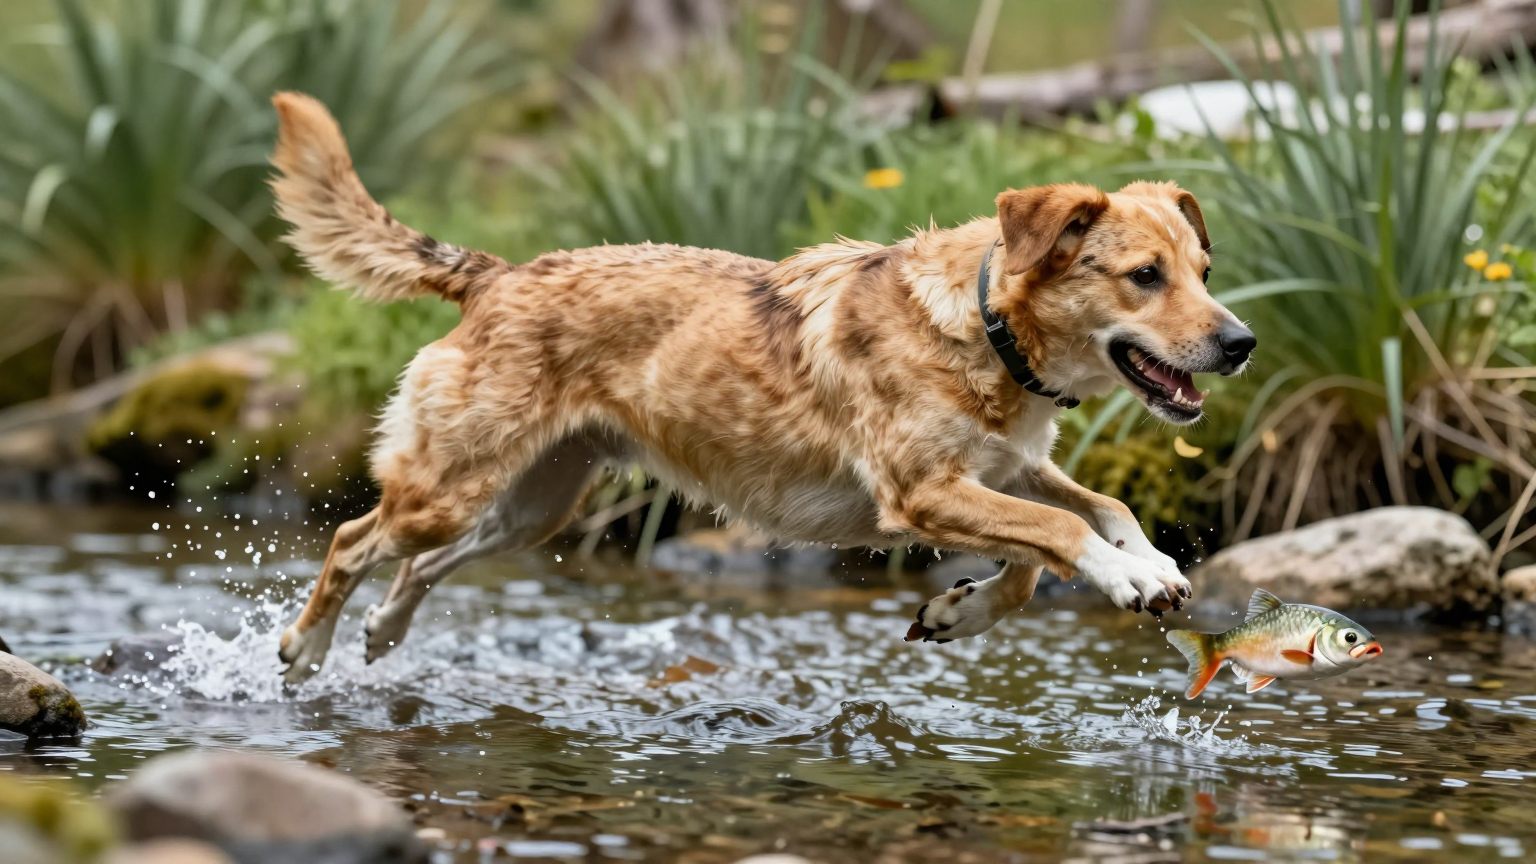
A dog leaping across a stream to catch a fish, frozen in the moment of impact.(用于测试:模型对高能量、不稳定的瞬间的识别。)
维度一:环境/物理干扰测试 (Environment & Physical Clutter)
这类测试关注模型如何处理非目标物体、复杂的纹理和非标准环境介质。
1. 密林伪装测试 极端天气(测试条件): A cat crouched within dense, wet foliage, partially obscured by overlapping leaves and hanging vines.(NG)
测试目的: 极端的自然遮挡物(叶片、藤蔓)对主体可见度的影响,测试模型从混乱的自然纹理中提取目标主体。
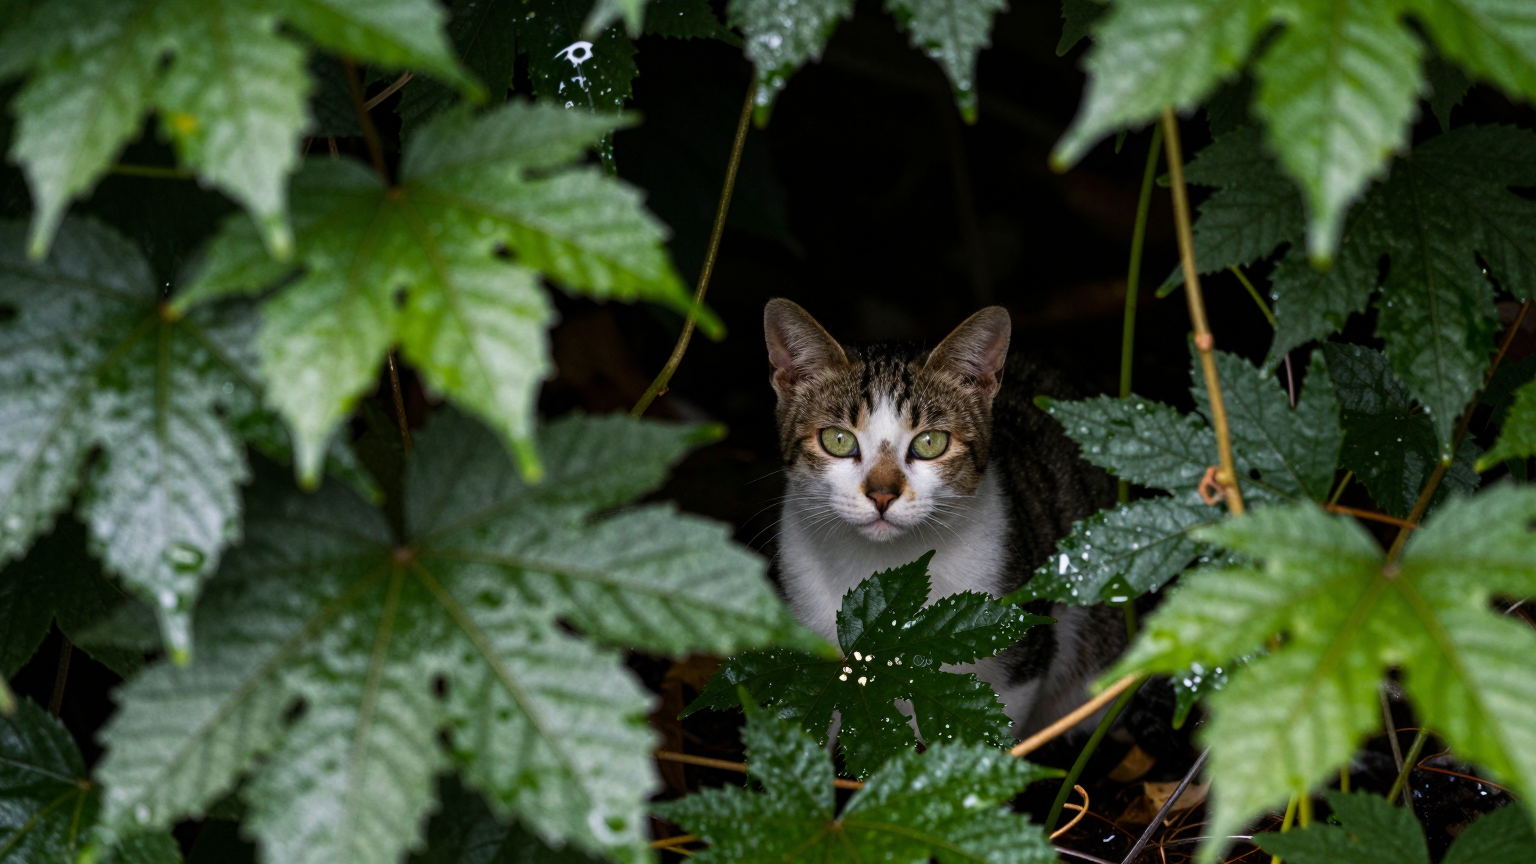
2. 泥沼泥泞测试 极端天气(测试条件): A dog standing in deep, thick, wet mud. Its paws are stuck, and mud splatter covers its legs and lower body.(提示词)
测试目的: 极端的脏污和泥泞环境,测试模型在物体表面覆盖大量非生物介质时的身份识别能力。
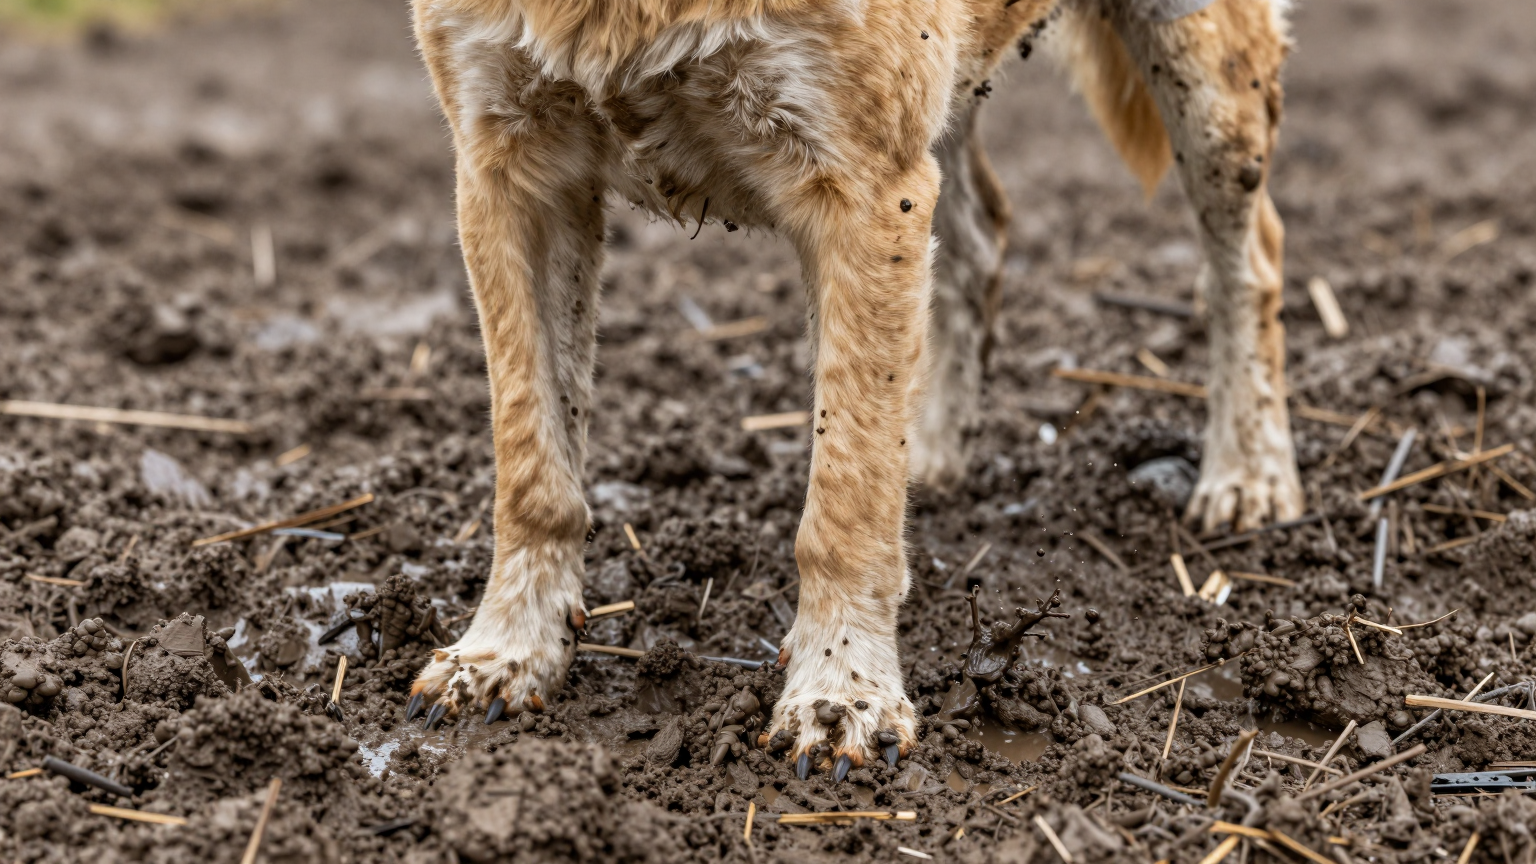
3. 破碎废墟测试 极端天气(测试条件): A dog lying among crumbling concrete, broken glass, and overgrown weeds in an abandoned factory. Only its head and upper body are clearly visible.(NG)
测试目的: 复杂的、多材质的建筑废墟背景(瓦砾、玻璃),测试模型在非自然、高噪声背景下的目标分离。
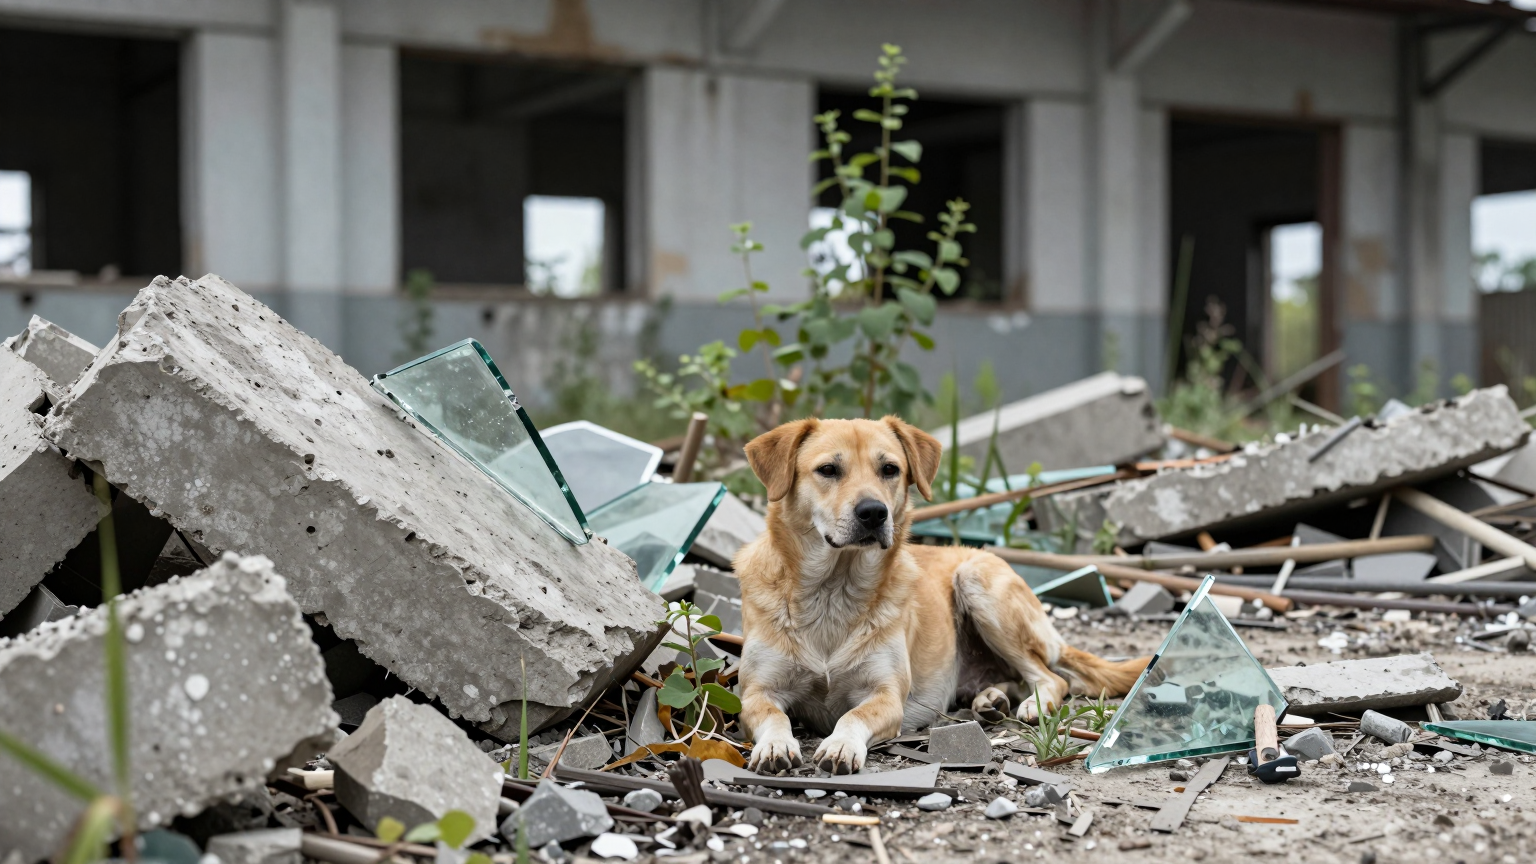
🌑 维度二:光照/可见度干扰测试 (Lighting & Visibility)
这类测试是最高难度的挑战,模型必须在信息极度缺乏的情况下进行推理。
4. 逆光剪影测试 极端天气(测试条件): A cat jumping across a beam of sunlight. The animal is positioned directly between the camera and a powerful, blinding light source, appearing almost entirely as a black silhouette.(提示词)
测试目的: 极端的逆光和剪影效果,测试模型在缺乏内部细节信息时,仅依靠轮廓和形体来识别动物。
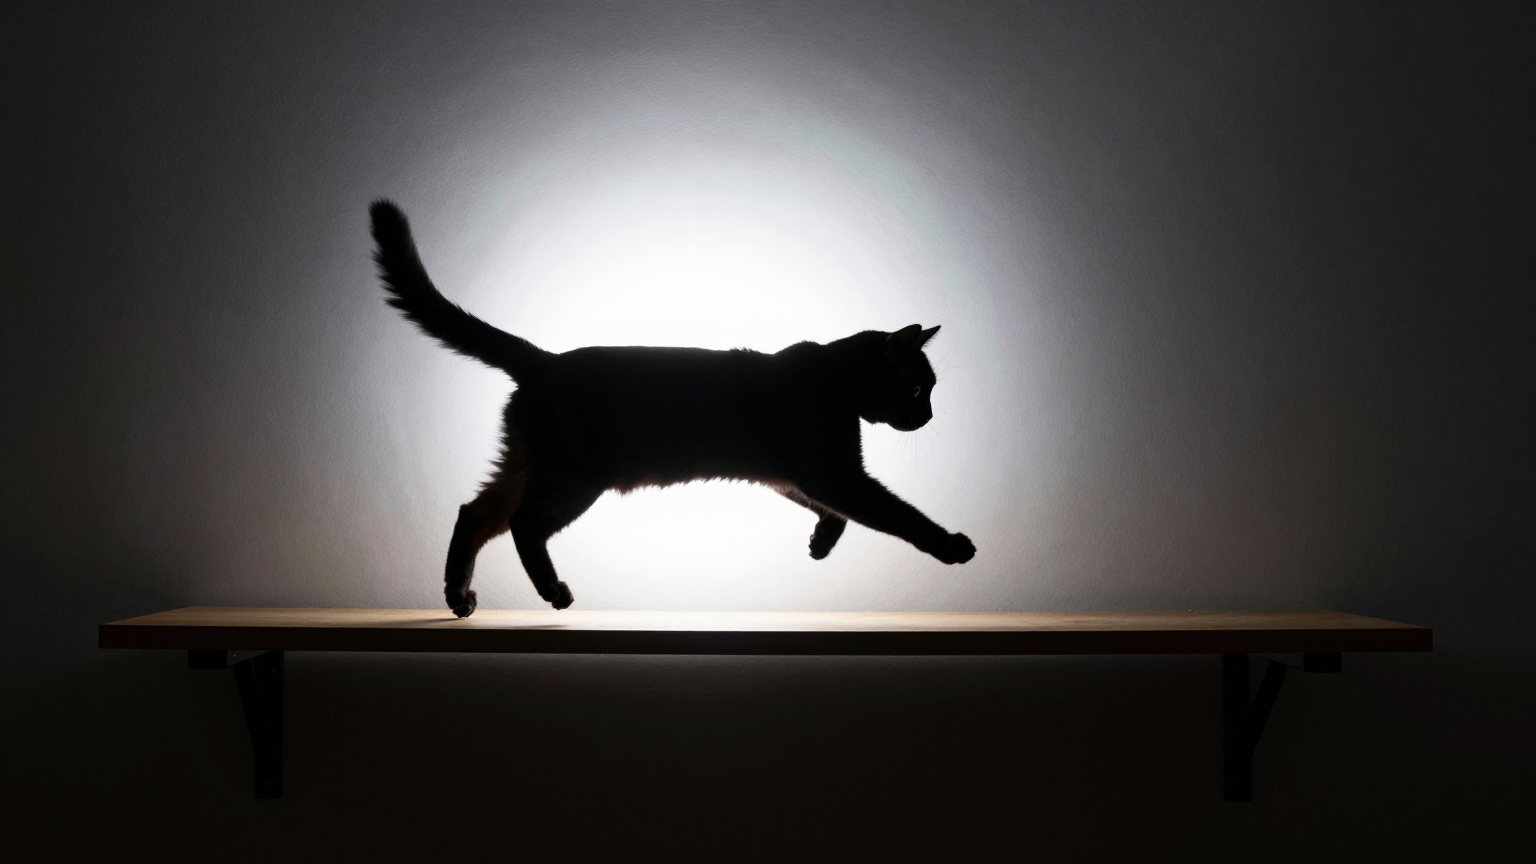
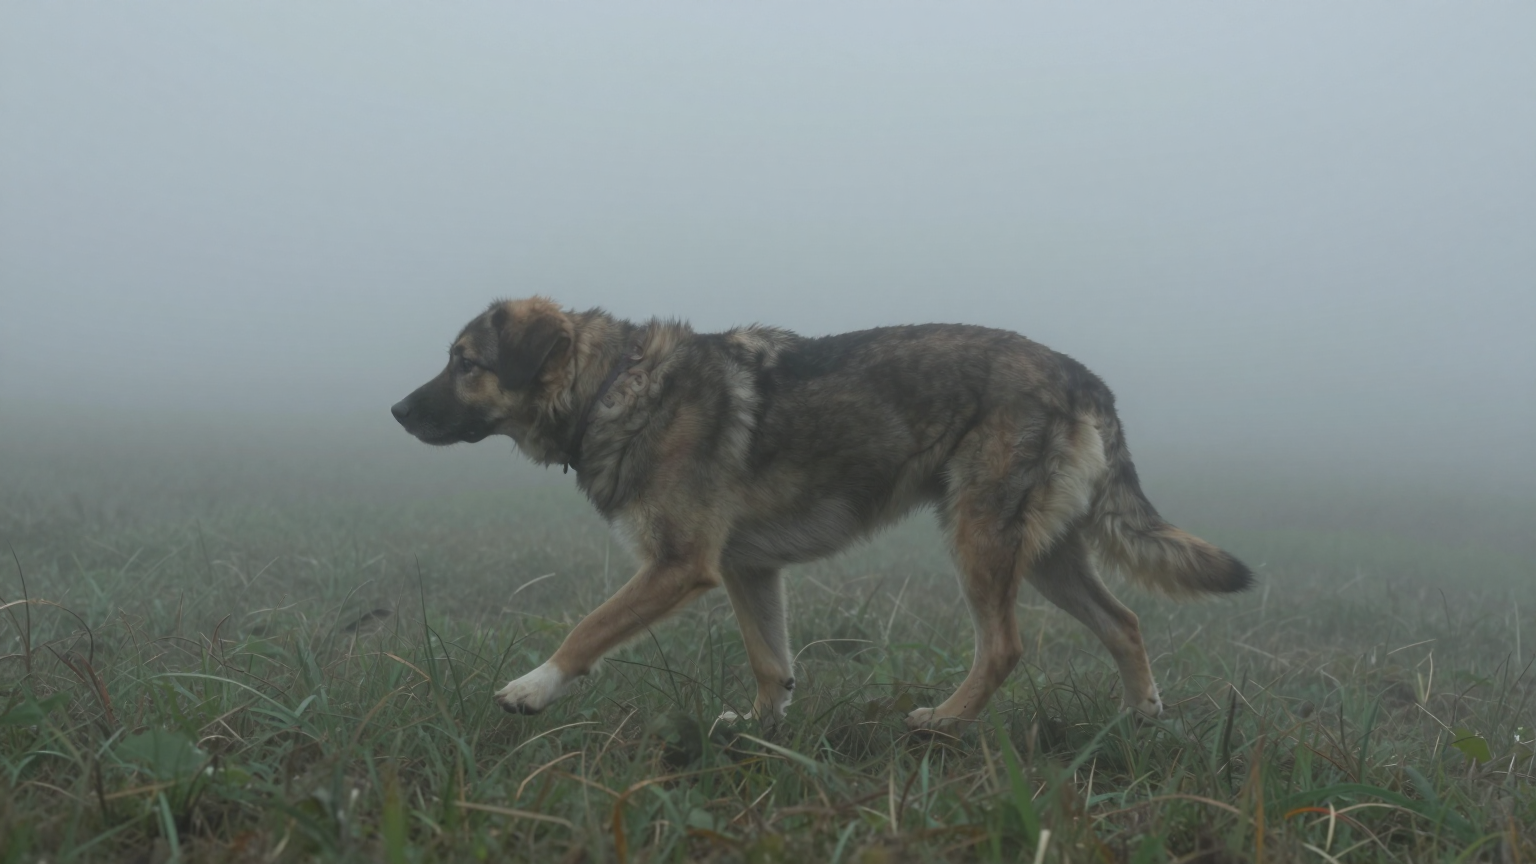
5. 雾霾低能见度测试 极端天气(测试条件): A dog walking through a thick, dense fog (fog bank). The dog's body appears washed out and its edges are diffused by the mist.(提示词)
测试目的: 极低的能见度环境(浓雾),测试模型对模糊边界和扩散光线下的主体辨识能力。
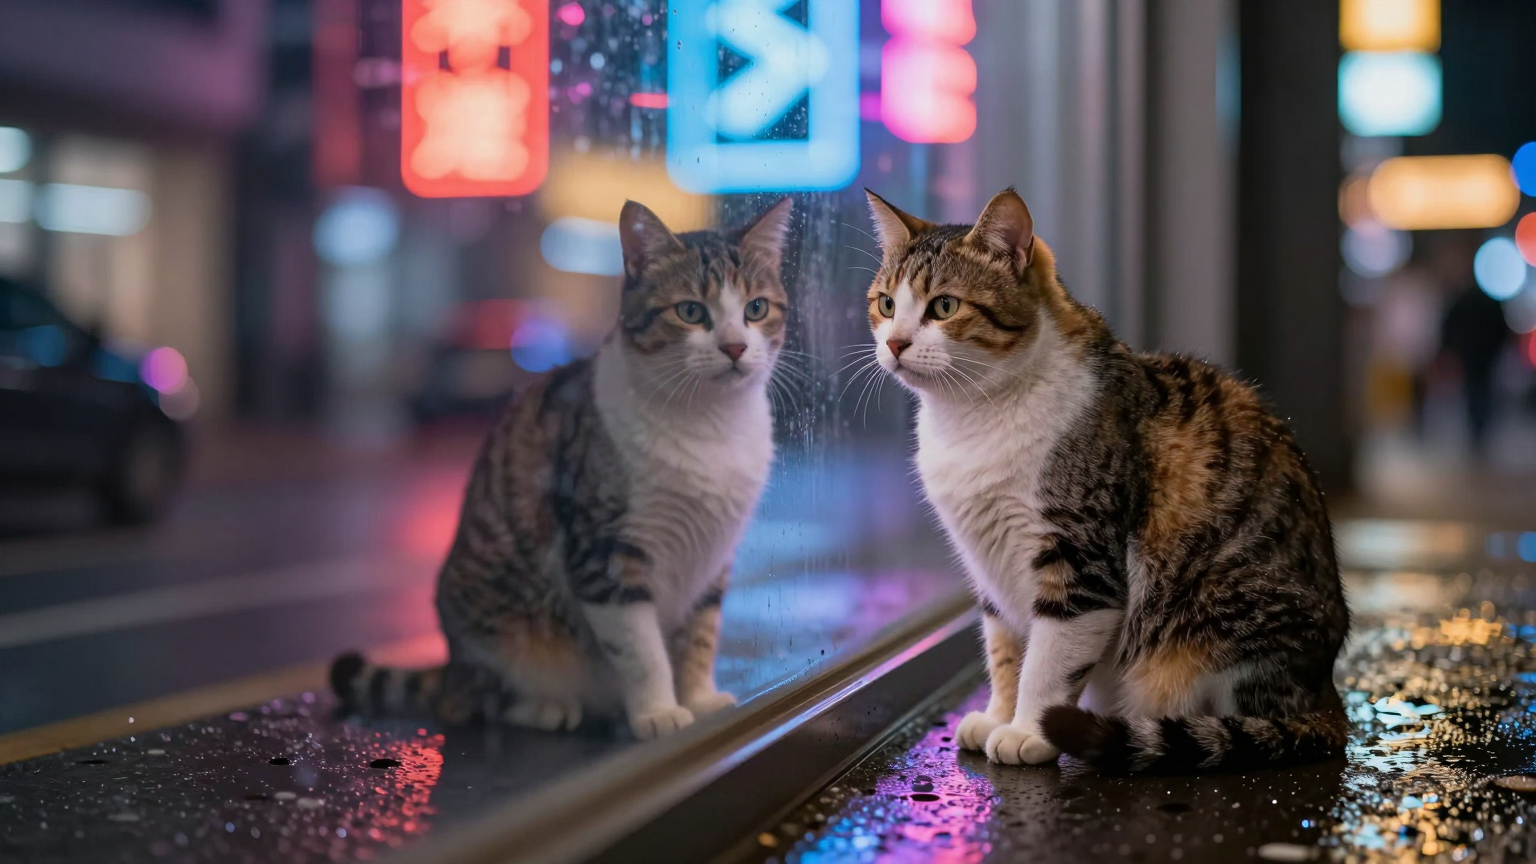
6. 霓虹灯强反射测试 极端天气(测试条件): A cat sitting near a highly reflective, wet metal surface lit by multi-colored, harsh neon signs. The reflection distorts the animal's appearance and the scene.(NG)
伪装维度:材质与形态欺骗测试 (Texture & Camouflage)
这类测试旨在挑战模型识别物体边界和材质的极限,重点在于目标主体与环境背景的融合程度。
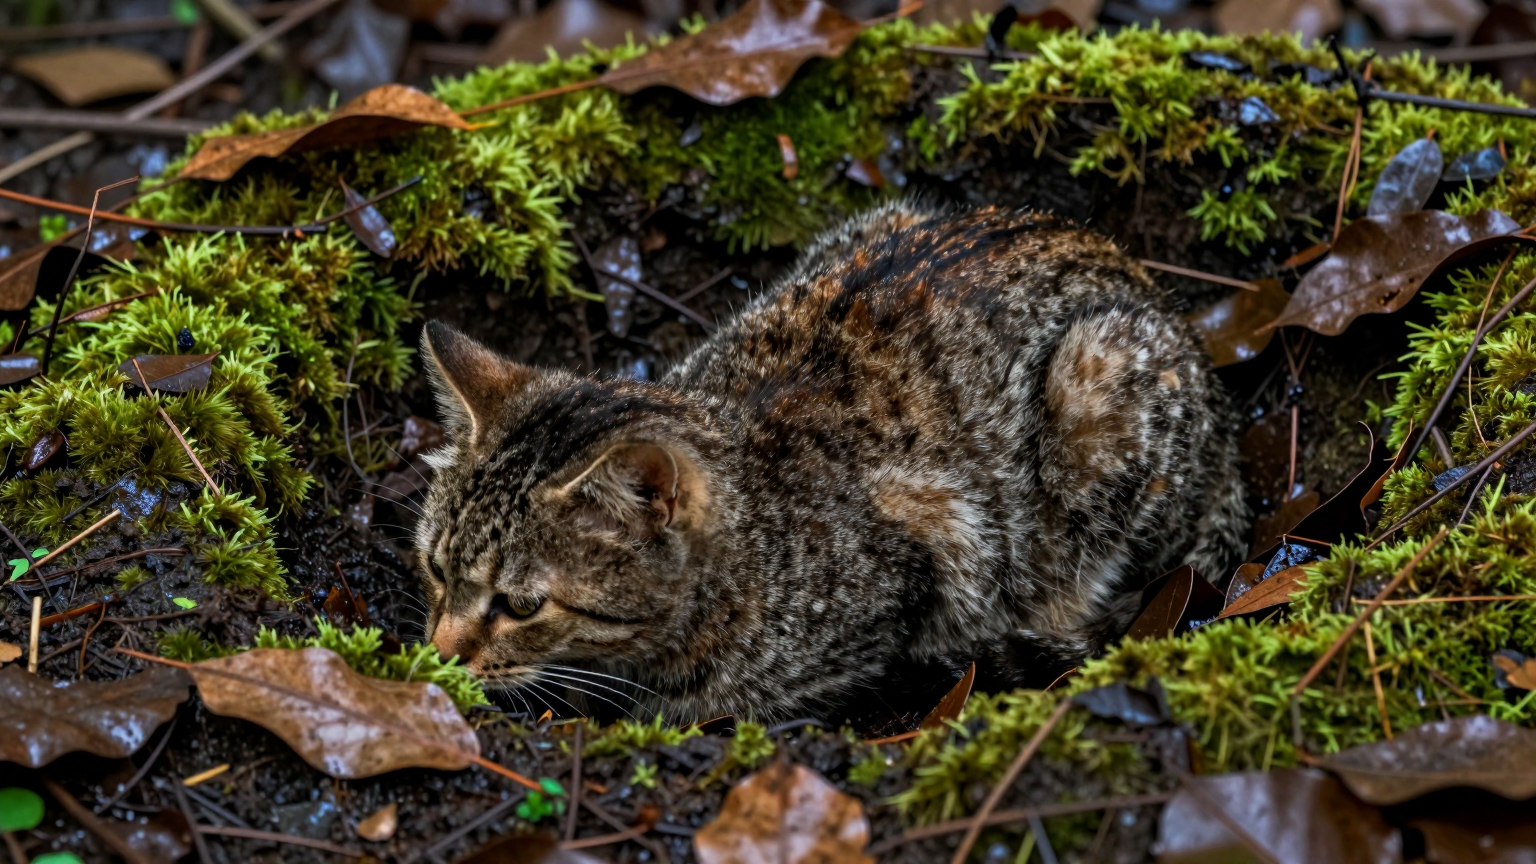
1. 泥土与植被的融合伪装 A cat partially buried in wet, mossy earth and overlapping leaves. Its fur color and pattern are meticulously blended with the surrounding textures, making its silhouette extremely indistinct.(提示词)
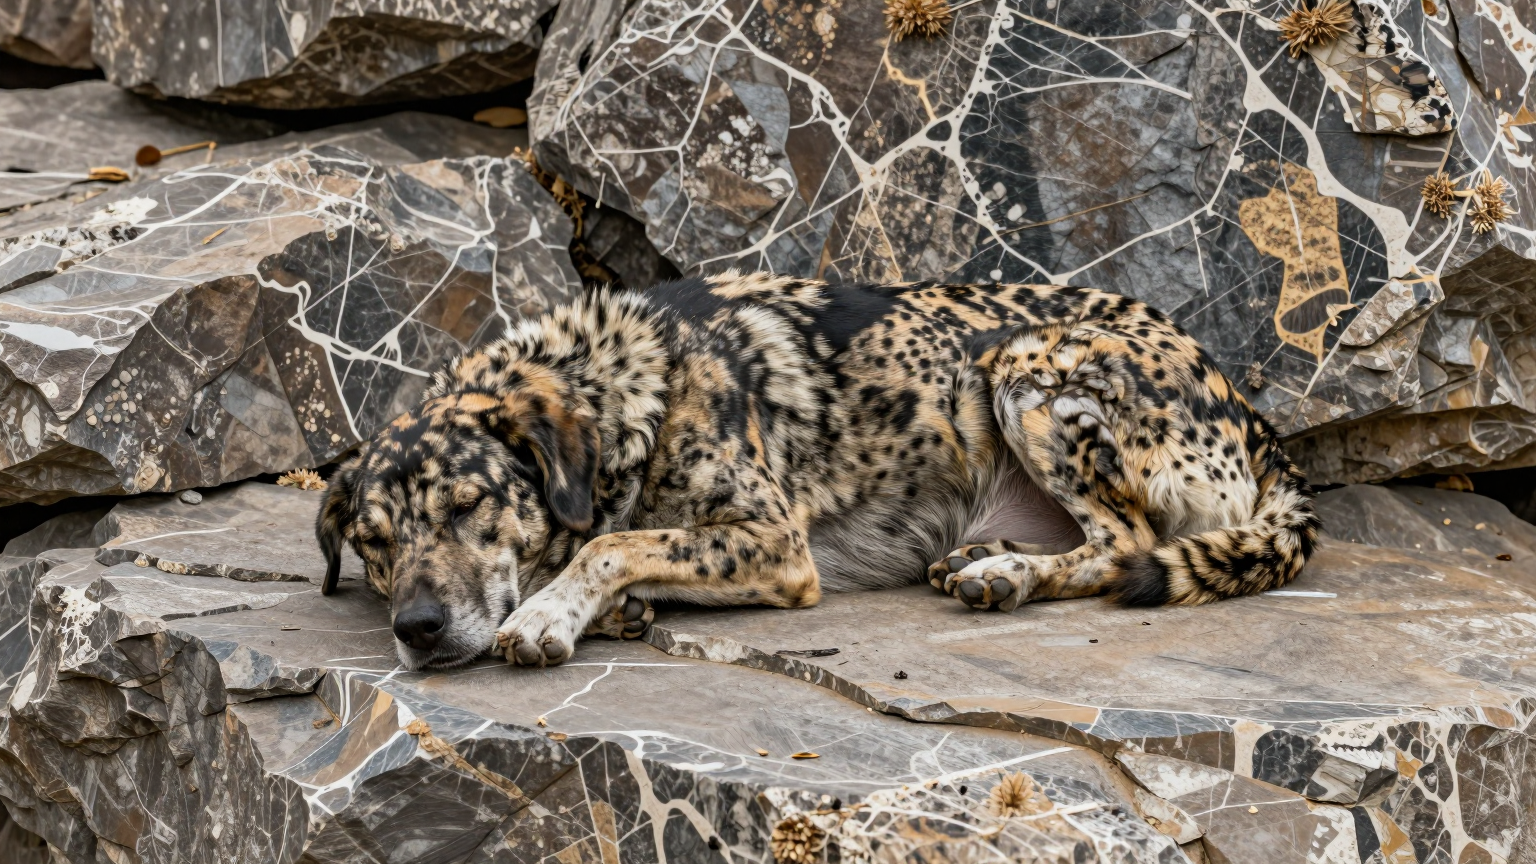
2. 岩石纹理的模仿伪装A dog resting motionless on a complex, patterned rock formation. Its fur and coat colors are patterned to perfectly mimic the shades and veins of the stone, achieving near-perfect camouflage.(NG)
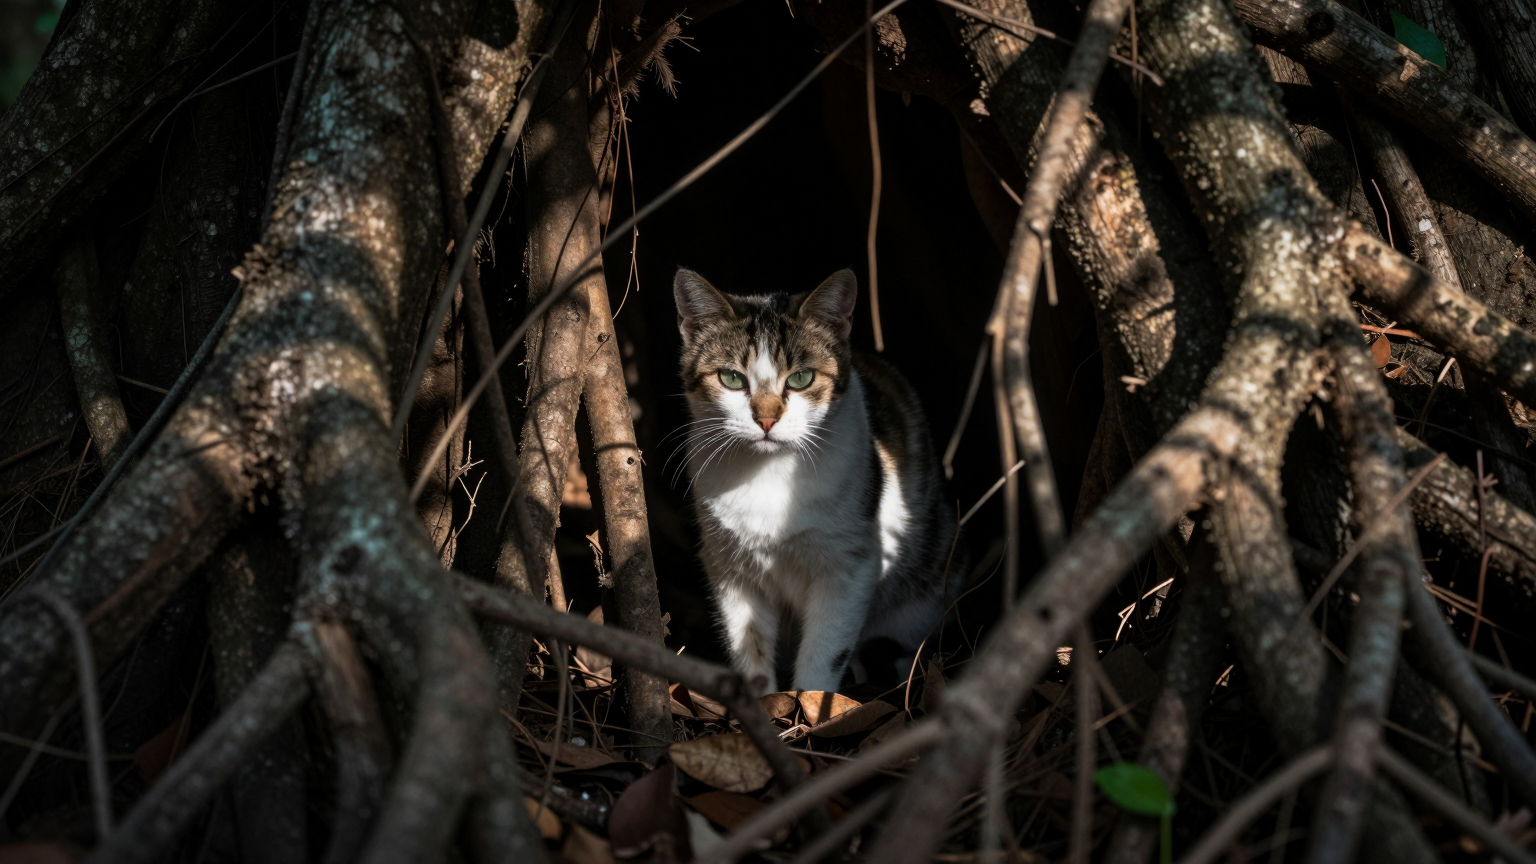
3. 复杂阴影结构的隐藏A cat hidden deep within a cluster of forest shadows and underhanging roots. The animal's edges are blurred by overlapping shadows, making its existence dependent on detecting subtle breaks in the shadow pattern.(NG)
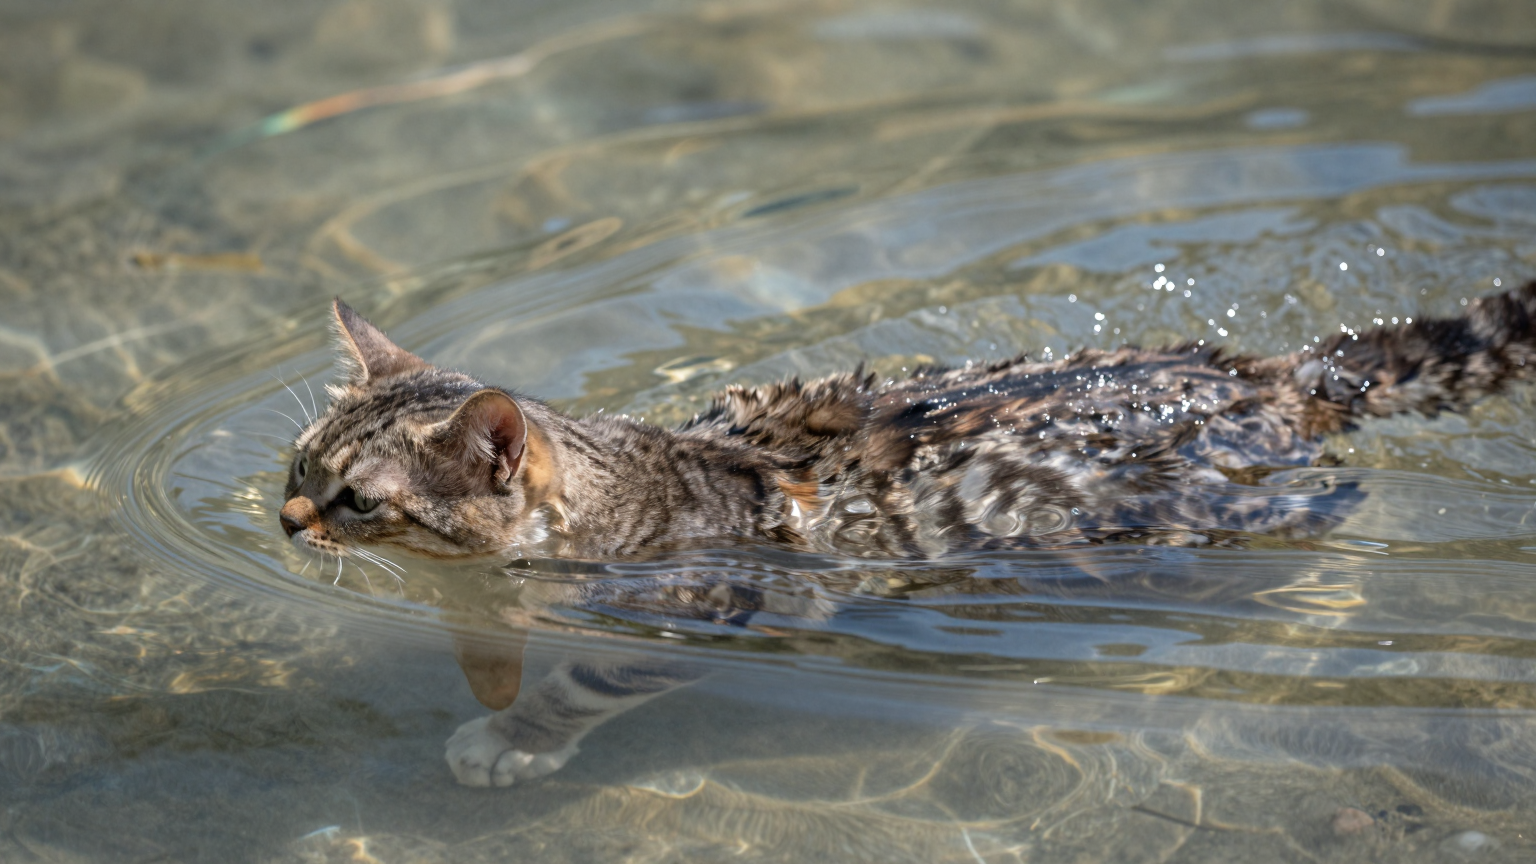
4. 水面折射的半透明欺骗 A cat floating or lying partially submerged in shallow, clear water. Only its head and upper back are visible, and its body outline is severely distorted and refracted by the water's surface.(提示词)
💨 动态维度:动作与动态干扰测试 (Motion & Action)
这类测试旨在挑战模型对运动状态、瞬时物理状态和高能动作的识别能力。
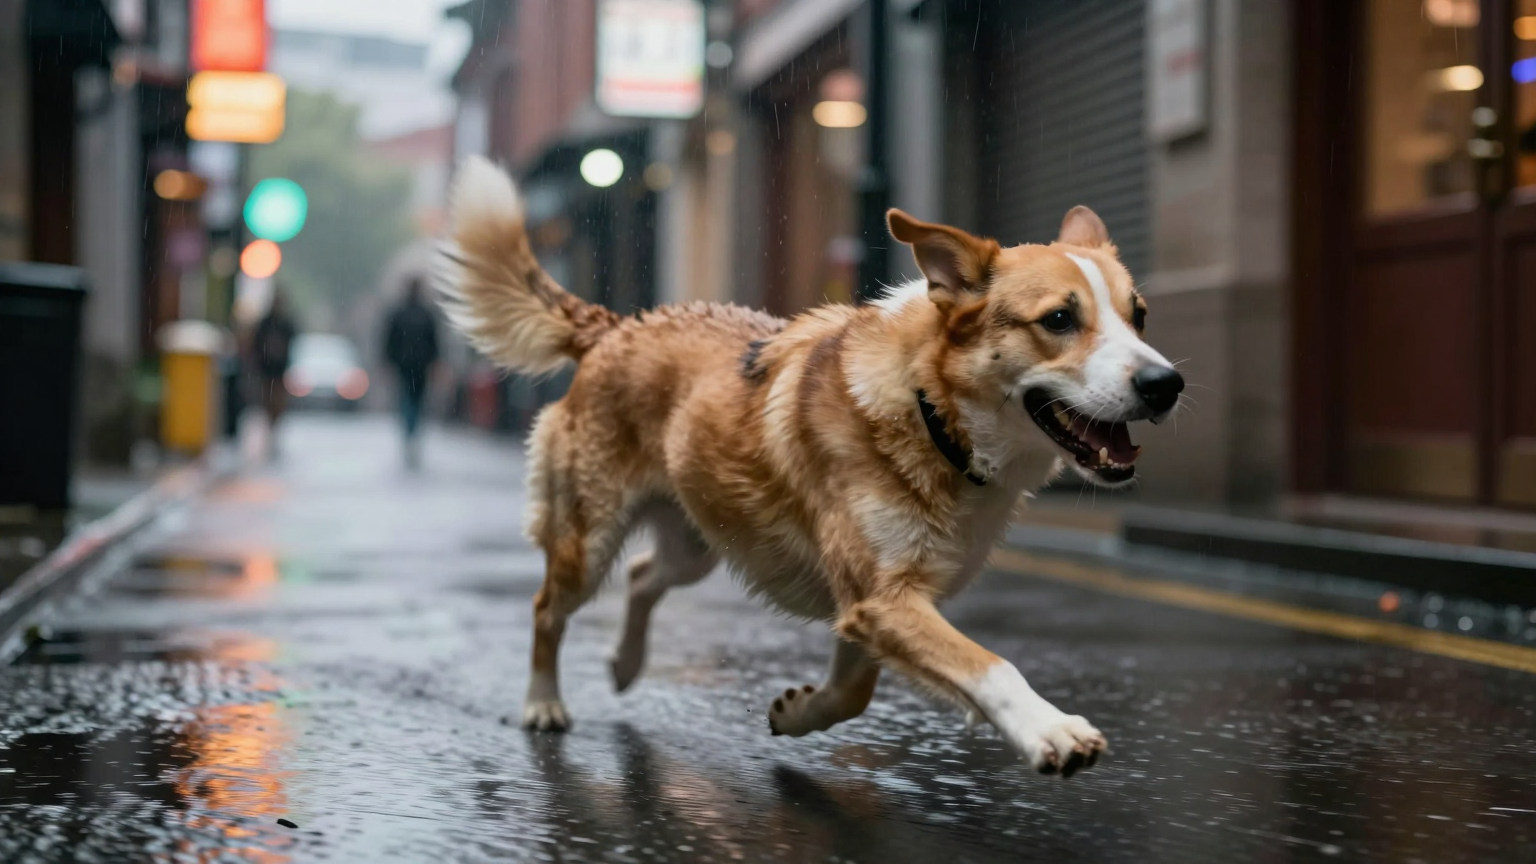
1. 爆发奔跑与运动模糊A dog running at maximum speed in a rainy alleyway. The dog's body exhibits significant motion blur (motion blur effect), while the surrounding neon lights streak across the frame, emphasizing high kinetic energy.(提示词)
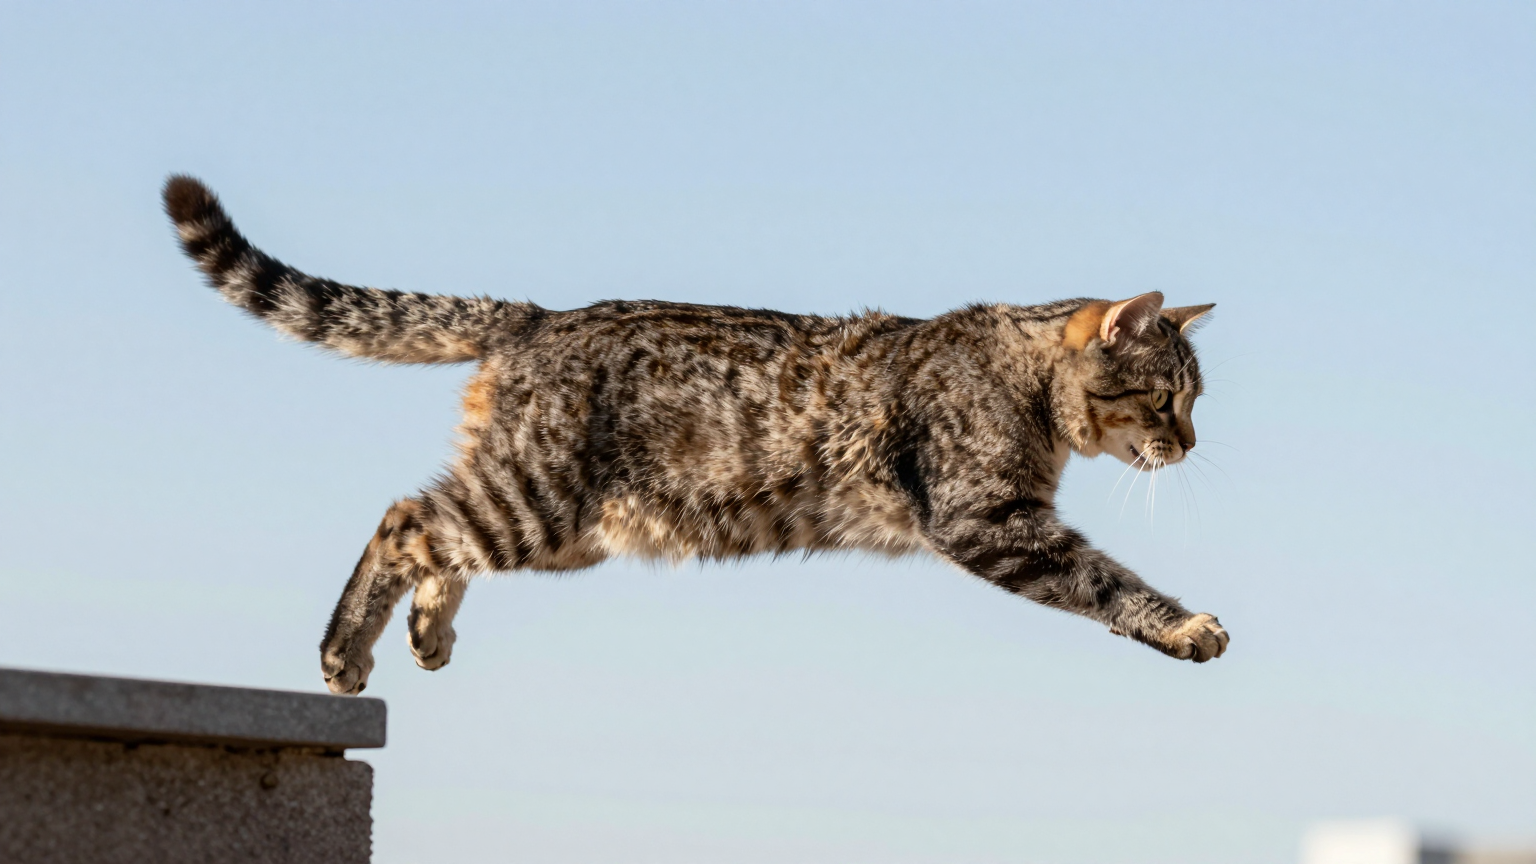
2. 腾空跃起(Mid-Air Leap) A cat captured in mid-air during a high leap across a gap. The cat is fully stretched, muscles are visible, and the entire body is frozen at the peak point of the jump, against a clear, sunlit background.(提示词)
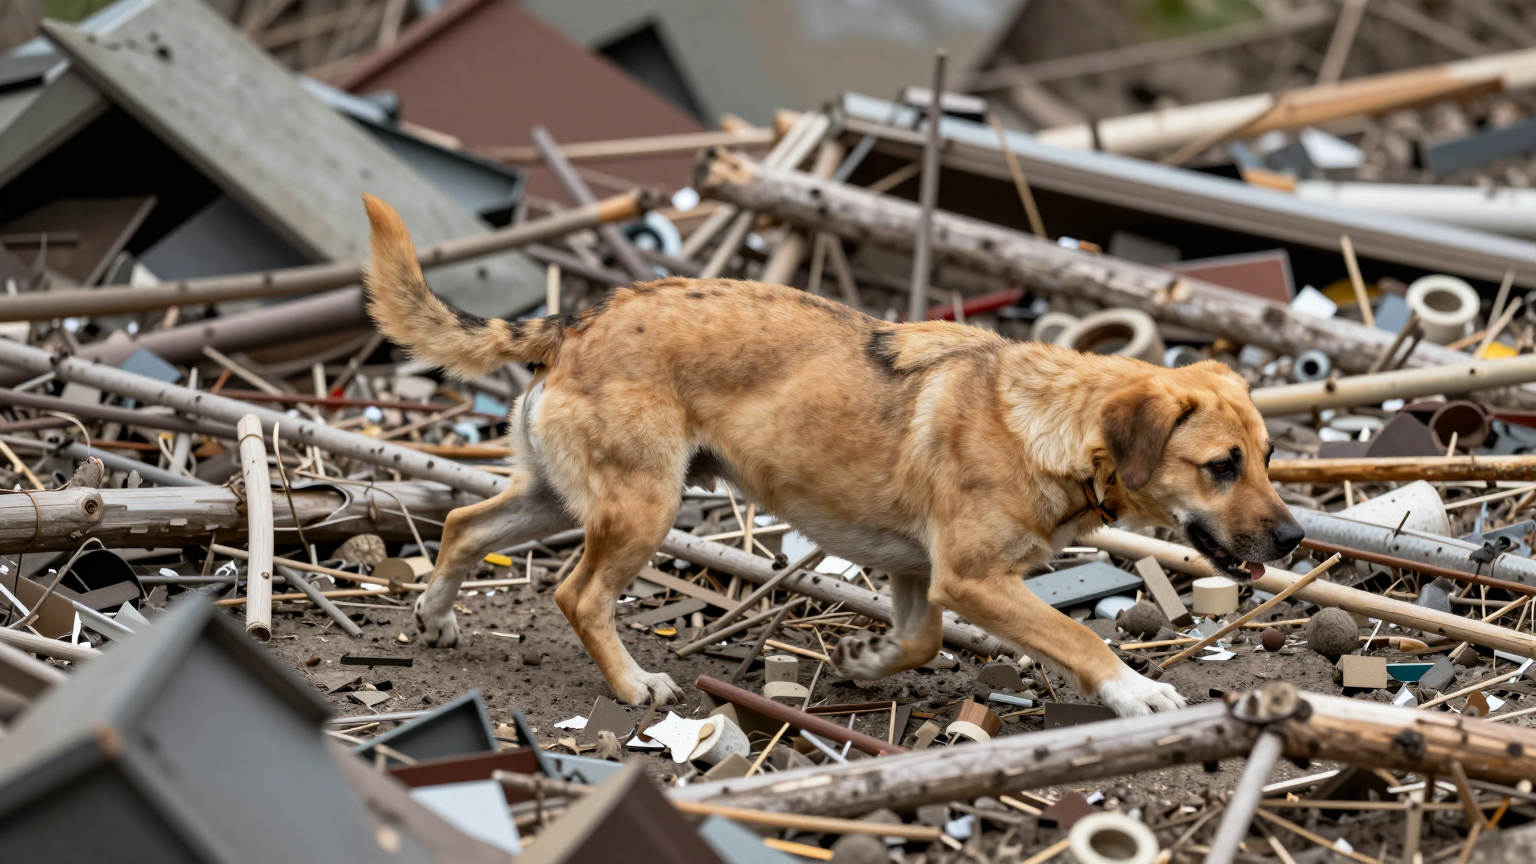
3. 低姿态潜行与复杂障碍 A dog moving in a low crouch (ground level) through a complex field of debris and scattered wreckage. The dog's body is parallel to the ground, showcasing high stealth and navigating extremely tight spaces.(提示词)